How to Add a Remote Start to Your Inverter Generator (DIY Guide)
Remote start is a fantastic upgrade for your inverter generator, offering convenience, especially during emergencies or cold weather. Instead of manually starting your generator, you can power it up from a distance with just a push of a button.
In this detailed DIY guide, we’ll walk about How to Add a Remote Start to Your Inverter Generator. We’ve included pro tips, safety precautions, and maintenance advice to ensure your DIY upgrade works flawlessly for years to come. Whether you have a Honda, Champion, Yamaha, or another brand, this guide will help you install a reliable remote start system safely and effectively.
Why Add a Remote Start to Your Inverter Generator?
A remote start system transforms your inverter generator from a basic power source into a smart, user-friendly machine. Instead of manually pulling a cord or pressing a starter button, you can turn on your generator with just the click of a remote—from the comfort of your home, RV, or even a nearby shelter.
The benefits go far beyond simple convenience. In an emergency, every second counts. When a sudden blackout hits, you won’t need to rush outside in the dark or bad weather to get your generator running. With a remote start, power is just a button press away, ensuring your lights, fridge, or medical devices stay on without delay.
Cold weather can make starting a generator frustrating, especially when the pull cord feels stiff or the engine takes multiple attempts to turn over. A remote starter eliminates this struggle by activating the generator electronically, so you never have to brave freezing temperatures just to get power.
Safety is another major advantage. Traditional generator startup means being near the exhaust fumes and loud noise right as the engine kicks in. A remote system lets you start it from a safe distance, reducing exposure to harmful emissions and sudden noise. You should read our blog about Electric Start vs. Remote Start Generators.
What You’ll Need for the Installation
Before starting, gather the following tools and components:
Tools Required:
- Screwdrivers (Phillips & flathead)
- Wire strippers & crimping tool
- Multimeter (for testing connections)
- Electrical tape or heat shrink tubing
- Zip ties (for wire management)
- Soldering iron (optional for secure connections)
Materials Needed:
- Remote start kit (compatible with your generator)
- 12V battery (if your generator doesn’t have one)
- Relay module (for electric start conversion)
- Wiring harness & connectors
- Fuse holder & fuse (for safety)
Note: Some inverter generators already have an electric start option—check your manual before purchasing parts.
Step-by-Step Guide How to Add a Remote Start to Your Inverter Generator
Step 1: Make Sure Your Generator Can Use Remote Start
First, you need to check if your generator can work with a remote starter. Here’s how to know:
- Look for Electric Start – Check if your generator has a battery (usually with + and – terminals). If it does, it likely supports remote start.
- Find a 12V Output – The remote starter needs power, so see if your generator has a 12V DC port (like a car charger socket).
If your generator only has a pull cord (no battery or electric start), you’ll need a special conversion kit to add electric start before installing a remote.
Pro Tip: Always verify compatibility by consulting your generator’s user manual or the manufacturer’s official website for your specific model.
Step 2: Choose the Right Remote Start Kit
Now it’s time to choose the right remote starter for your generator. Here’s what to look for:
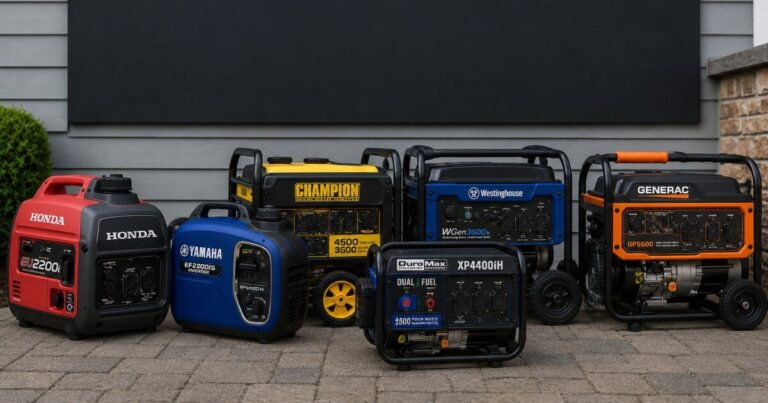
- Brand-Specific Kits (Best Option)
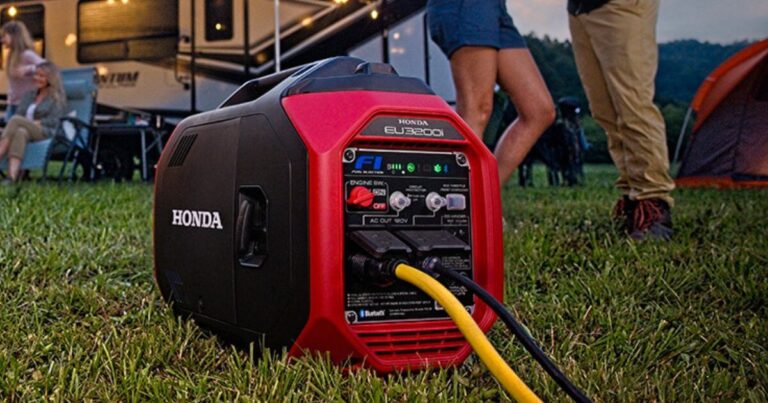
- Honda owners: Get kits made for EU2200i/EU3000is models
- Champion users: Look for kits matching 3400W-4500W generators
- Universal Kits (Works With Most Brands)
- Available at hardware stores or Amazon
- Often labeled “wireless generator remote start”
Key Features to Check:
✔ Wireless Range – 100-500 ft (RF remotes work farther than Bluetooth)
✔ Weatherproofing – Must be waterproof for outdoor use
✔ Power Needs – Must work with 12V systems (like your generator’s battery)
Pro Tip: Read customer reviews to see what works best for your specific generator model!
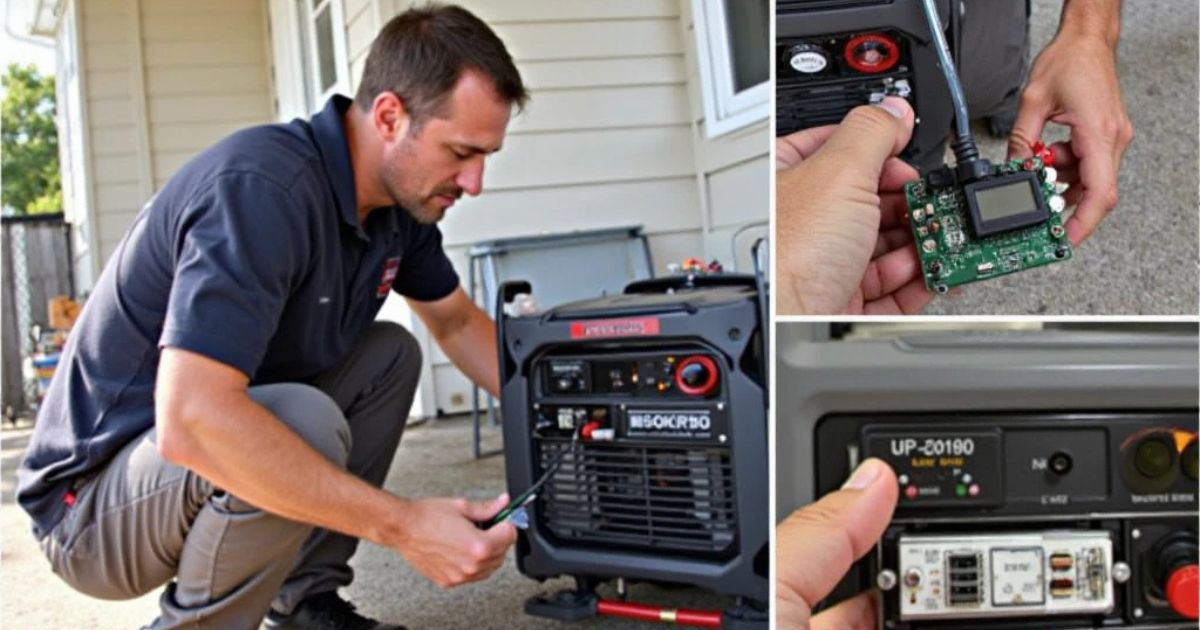
Step 3: Install the Remote Start Module
Now it’s time to install your remote starter. First, you’ll need to locate the wiring. Start by removing the generator’s control panel cover to access the electrical components. Find the starter solenoid – a small box near the battery with thick cables attached. Follow the positive (red) battery cable if you can’t spot it. Now look for the wires connected to your ignition switch. In most cases, you’ll find a red wire (this is your live/power wire) and a black wire (which serves as the ground connection).
With the wiring identified, you can now connect the remote start module. Begin by connecting the module’s positive (+) wire to either the battery’s positive terminal or the starter solenoid. Next, take the negative (black) wire from your remote start kit and securely connect it to a bare metal spot on the generator’s frame. The remote starter’s activation wire needs to be connected to your ignition switch’s start circuit. If your remote start kit didn’t include a relay, you should add one to handle the electrical load properly.
For safety, install an inline fuse (10-15 amp) between the power source and your remote start module to prevent electrical issues. Once all connections are made, find a dry, secure location to mount the remote start module where it won’t be exposed to vibration or moisture. After everything is installed, reconnect the battery and test your system. Press the remote button to verify the generator starts properly. If it doesn’t work immediately, double-check all your connections, especially the ground and power wires.
Remember to take your time with this installation. If you’re unsure about any step, consult the wiring diagrams that came with your remote start kit or consider seeking help from someone with electrical experience. A properly installed remote start system will provide years of convenient operation.
Step 4: Test & Troubleshoot
After installing your remote start, it’s important to make sure everything works correctly. Start by testing the remote’s range. Walk about 50-100 feet away from your generator and try starting it. The generator should turn on smoothly when you press the button. If it doesn’t start right away, check your battery charge – a weak battery is often the problem.
If you’re having issues, here are some simple solutions. When nothing happens when you press the remote, first check all the wire connections to make sure they’re tight and correct. Test your battery with a multimeter. A healthy 12V battery should show 12.6V or higher when fully charged. If below 12V, recharge or replace it.
When your generator produces a clicking sound without turning over, the most likely culprits are either a faulty starter solenoid or compromised wiring connections to the starter motor. This common issue typically indicates electrical current is reaching the solenoid but failing to properly engage the starting mechanism. These parts sometimes get dirty or loose over time.
Remember to test your remote start system regularly, especially before seasons when you’ll need your generator most. This helps catch any problems early. If something still isn’t working after checking these things, you might want to ask an electrician for help or contact the manufacturer of your remote start kit. With everything working properly, you’ll enjoy the convenience of starting your generator from a distance whenever you need power.
Safety Tips for Remote Start Generators
Your generator’s remote start feature offers great convenience, but safety must remain your top concern. Carbon monoxide poisoning is a real danger – this invisible, odorless gas can be deadly within minutes. For proper ventilation and safety, always run your generator outside in an open area. Position it at least 20 feet (6 meters) from your home, windows, or enclosed spaces, and ensure the exhaust points away from structures, vents, and high-traffic areas. This prevents carbon monoxide buildup and reduces fire risks from heat or sparks. For maximum protection, install carbon monoxide detectors throughout your home and test them regularly to ensure they’re functioning properly.
Regular maintenance is crucial for safe operation. Make it a habit to check your generator’s battery condition monthly and before important use to guarantee reliable remote starting. Choose a level, stable location for your generator to prevent tipping, and take precautions to shield it from harsh weather conditions. Be mindful of your neighbors by adhering to local noise ordinances, particularly during nighttime hours.
These straightforward safety measures allow you to benefit from remote start convenience while protecting what matters most. Taking a few minutes for proper setup and maintenance can mean the difference between safe operation and potential disaster when you need power most. Remember that remote start doesn’t eliminate the need for responsible generator use – it simply adds convenience to an already powerful tool. Stay safe by making these precautions part of your regular generator care routine.
Final Thoughts
Adding remote start functionality to your inverter generator fundamentally improves both convenience and emergency readiness. What was once a manual chore becomes an effortless process – imagine powering up your generator from the safety of your home during a storm or simply avoiding those late-night trips outside to flip a switch.
For most moderately skilled DIYers, this practical upgrade can typically be completed in about two hours using standard tools. However, if you have any hesitation about working with electrical components, investing in professional installation ensures optimal safety and performance. Once installed, you’ll appreciate the remarkable difference a simple button press can make in your power management routine.
This modification strikes the perfect balance between practical preparedness and everyday convenience, making it one of the most rewarding upgrades for generator owners. You can check the Best Remote Start Generators for 2025.