
How to Build a DIY Solar Generator in 2025
If you’re looking for a sustainable and cost-effective way to power your home or outdoor adventures, building a DIY solar generator is an excellent solution. A solar generator is a device that captures sunlight and converts it into electrical energy that can be used to power appliances, lights, and other devices.
In this guide, we will walk you through the steps to build your own DIY solar generator.
Let’s start to know How to Build a DIY Solar Generator?
Step 1: Gather Materials and Tools
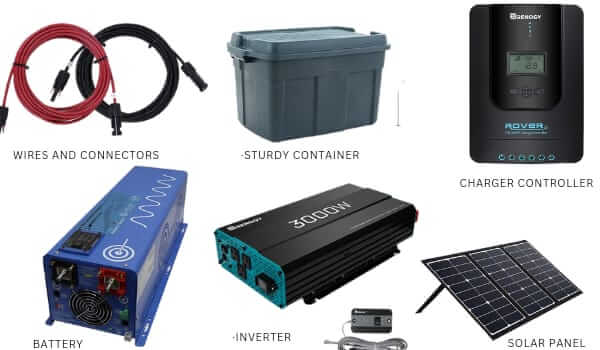
To build a solar generator, you will need the following materials:
- A solar panel
- A charge controller
- A battery
- An inverter
- Wires and connectors
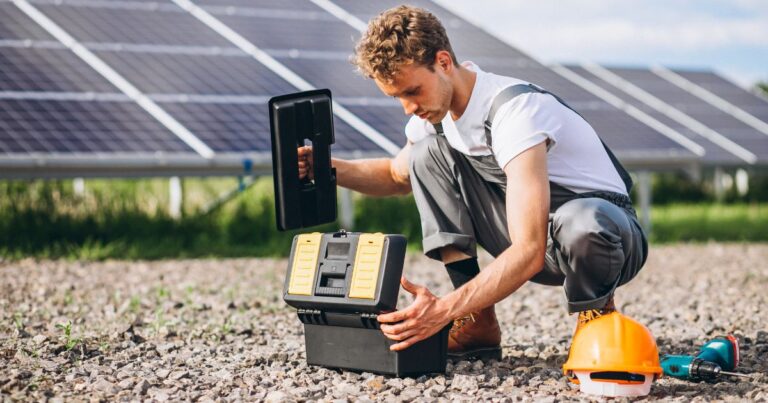
- A battery box
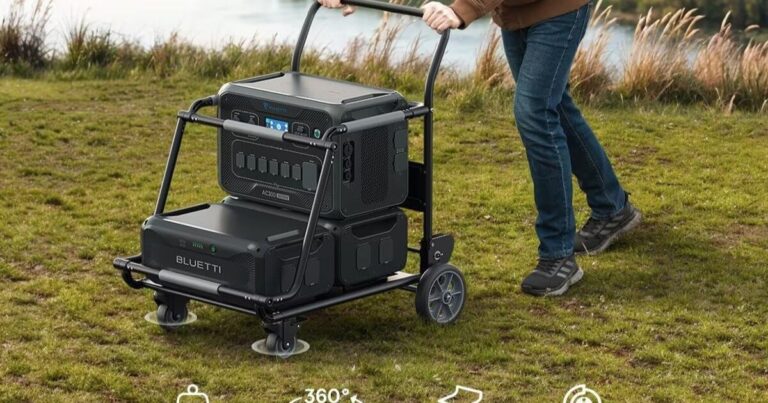
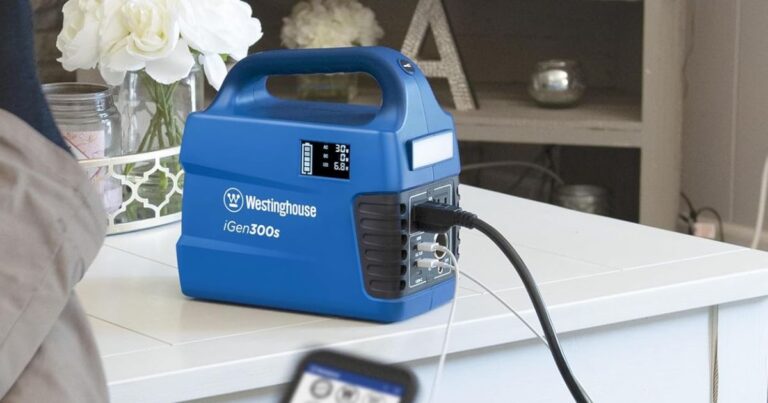
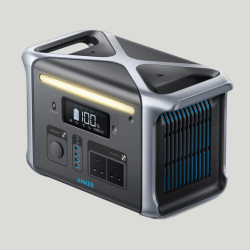
- A portable power station or a sturdy container
You will also need the following tools:
- Wire cutters and strippers
- Screwdrivers
- Wrenches
- Pliers
Step 2: Choose the Right Solar Panel
Solar panels are a crucial component of any solar energy system, including DIY solar generators. They used to convert sunlight into usable electricity that can power your appliances and devices. Choosing the right solar panel is essential to ensure that your DIY solar generator is efficient and effective. In this article, we will discuss the factors you should consider when selecting a solar panel for your DIY solar generator project.
Wattage and Voltage
One of the most important factors to consider when choosing a solar panel is its wattage and voltage rating. Wattage refers to the amount of power the solar panel can produce, while voltage refers to the amount of electrical potential or pressure that the panel can generate. Generally, the higher the wattage and voltage, the more power the solar panel can produce.
When selecting a solar panel for your DIY solar generator, it’s essential to consider your energy needs. Determine how much power you need to run your appliances and devices and choose a solar panel that can provide that amount of power. For example, a 100-watt solar panel is a good choice for most DIY solar generator projects, as it can produce enough power to run small appliances and devices.
Size and Weight
Another factor to consider when choosing a solar panel for your DIY solar generator is its size and weight. Solar panels come in different sizes and shapes, and you need to choose one that fits your project’s requirements. Larger solar panels may produce more power, but they may not be practical for smaller DIY solar generator projects.
Additionally, the weight of the solar panel is essential, particularly if you plan to move your DIY solar generator around. Lightweight solar panels are easier to transport and install, making them a better option for portable DIY solar generators.
Efficiency
The Panel efficiency of solar generators refers to the amount of sunlight. While higher efficiency solar panels can convert more sunlight into electricity, which means they can produce more power with the same amount of sunlight.
When selecting a solar panel for your DIY solar generator, it’s crucial to choose a panel with high efficiency to ensure that you get the most power from the sunlight available.
Cost
Cost is another crucial factor to consider when choosing a solar panel for your DIY solar generator. Solar panels come in a range of prices, and you need to choose one that fits your budget. However, it’s essential to keep in mind that cheaper solar panels may not be as efficient or durable as more expensive ones, which means that they may not produce as much power or last as long.
It’s worth investing in high-quality solar panels that are more efficient and durable, as they can save you money in the long run. They will produce more power and last longer, which means that you won’t have to replace them as frequently.
Conclusion
Choosing the right solar panel is essential for building a DIY solar generator that can provide enough power to run your appliances and devices. Consider the wattage and voltage rating, size and weight, efficiency, and cost of the solar panel before making your choice. Investing in high-quality solar panels may cost more upfront, but they can save you money in the long run by producing more power and lasting longer.
Step 3: Install the Charge Controller
A charge controller is an essential component of a DIY solar generator, as it is responsible for regulating the amount of energy that goes into the battery to prevent overcharging or discharging. Installing a charge controller is a crucial step in setting up a solar generator, as it ensures that the battery is charged correctly and efficiently, and it also extends the life of the battery.
The installation process of a charge controller is relatively simple and can be done by anyone with basic knowledge of electrical wiring. However, it is crucial to follow the manufacturer’s instructions carefully to avoid damaging the equipment or injuring oneself.
Step 4: Connect the Inverter
When setting up a solar generator, one of the most important components is the inverter. An inverter is an electronic device that converts the direct current (DC) power stored in the battery to alternating current (AC) power that can be used to power your appliances and devices. The inverter is available in different wattage ratings, and the one you choose will depend on your power needs.
To connect the inverter, you need to connect the positive and negative terminals of the battery to the input terminals of the inverter. The positive terminal is usually labeled with a plus sign (+) while the negative terminal is labeled with a minus sign (-). You can do this by connecting the red wire to the positive terminal of the battery and the black wire to the negative terminal of the battery. Then, connect the other end of the wires to the input terminals of the inverter.
The input terminals of the inverter are usually labeled with a positive (+) and negative (-) sign. Connect the red wire to the positive terminal of the inverter and the black wire to the negative terminal of the inverter. You can use crimp connectors or terminal blocks to connect the wires securely.
After connecting the input terminals of the inverter to the battery, you need to connect the output terminals of the inverter to your appliances or devices. The output terminals of the inverter are usually labeled with a positive (+) and negative (-) sign. Connect the red wire to the positive terminal of the appliance or device and the black wire to the negative terminal of the appliance or device. You can use crimp connectors or terminal blocks to connect the wires securely.
Step 5: Assemble the Battery Box
The battery box is an important component of a solar generator because it protects the battery from damage and provides a secure place to store it. The battery box can be made of plastic or metal, and it should be large enough to accommodate the battery.
To assemble the battery box, you need to drill holes for the wires and connectors. The size of the holes will depend on the size of the wires and connectors you are using. Then, attach the battery to the bottom of the box using bolts and nuts. Make sure the battery is secure and cannot move around inside the box.
Next, connect the wires and connectors to the battery. The positive wire should be connected to the positive terminal of the battery, and the negative wire should be connected to the negative terminal of the battery. You can use crimp connectors or terminal blocks to connect the wires securely.
Step 6: Assemble the Solar Generator
To assemble the solar generator, you need to first find a suitable location for the solar panel. The solar panel should be placed in a location where it will receive direct sunlight for most of the day. You can mount the solar panel on a roof, on the ground, or on a stand.
Once you have found a suitable location for the solar panel, you need to connect it to the charge controller. The charge controller is a device that regulates the flow of electricity between the solar panel and the battery. The charge controller prevents overcharging of the battery and helps to extend the life of the battery.
To connect the solar panel to the charge controller, you need to first connect the positive and negative wires from the solar panel to the input terminals of the charge controller. Then, connect the positive and negative wires from the battery to the output terminals of the charge controller. Make sure the connections are secure and that the wires are not touching each other.
Next, you need to connect the battery to the inverter. Connect the positive and negative wires from the battery to the input terminals of the inverter. Make sure the connections are secure and that the wires are not touching each other.
Step 7: Test the Solar Generator
Step 7 of setting up a solar generator involves testing the system to make sure that all components are working properly. This step is crucial as it allows you to identify and correct any potential issues before relying on the generator for power.
To begin testing, you will need to connect your appliances or devices to the inverter. The inverter is responsible for converting the direct current (DC) power generated by the solar panels into alternating current (AC) power that can be used to power your appliances and devices.
Before connecting any appliances or devices, make sure that the solar generator is turned off. Once everything is properly connected, turn on the solar generator and monitor the power output to ensure that it is delivering the expected amount of power.
You can use a multimeter to measure the voltage and current output of the solar generator. This will help you to verify that the generator is producing the correct amount of power for your needs. If the readings are not what you expected, you may need to troubleshoot the system to identify and correct any issues.
It is also important to test the solar generator under different weather conditions, as the amount of power produced by the solar panels can vary depending on the amount of sunlight available. Testing the generator on a sunny day and a cloudy day will give you a better idea of how the system performs under different conditions.
If everything is working correctly, your appliances and devices should receive power from the solar generator. However, if you encounter any issues during testing, it is important to address them before relying on the system for power. This may involve checking and tightening connections, replacing faulty components, or adjusting settings on the inverter.
Overall, testing the solar generator is a critical step in the setup process. It ensures that the system is working properly and can reliably provide power to your appliances and devices. By taking the time to test the system, you can avoid potential issues and ensure that your solar generator is ready to use whenever you need it.
Conclusion
Building a DIY solar generator is a cost-effective and sustainable way to power your home or outdoor adventures. By following these simple steps, you can build your own solar generator and start enjoying the benefits of clean, renewable energy. Remember to follow safety precautions and consult an expert if you are unsure about any step in the process.