How to Troubleshoot a Faulty Solar Generator Battery in 2025?
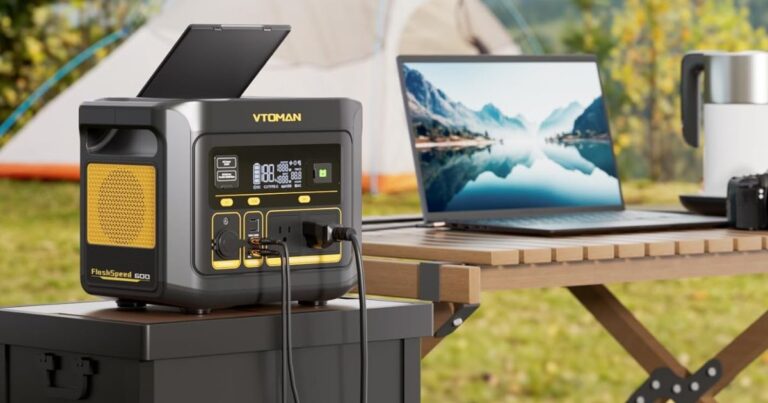
Solar generators have become increasingly popular due to their efficiency, portability, and reliability in powering up electronic devices, appliances, and other equipment. However, just like any other device, a solar generator can develop faults over time, one of which is a faulty battery.
When this happens, it can significantly reduce the efficiency and effectiveness of the generator. In this blog, we will provide a comprehensive guide on how to troubleshoot a faulty solar generator battery.
How to Troubleshoot a Faulty Solar Generator Battery?
Check the Battery Voltage:
Solar generators are a reliable and sustainable source of power for remote locations or for backup power during power outages. However, solar generator batteries may develop faults over time, which can affect their performance and lifespan.
One common issue with solar generator batteries is a decrease in their voltage capacity, which can lead to reduced power output or a complete shutdown of the solar generator.
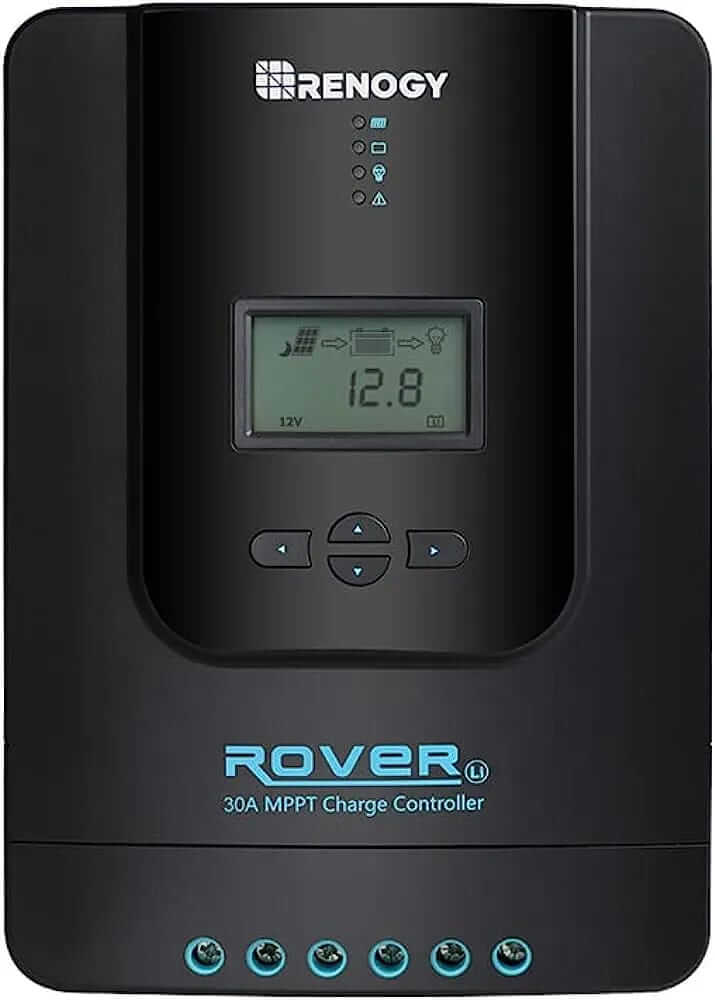
The first step in troubleshooting a faulty solar generator battery is to check its voltage. A fully charged battery should have a voltage reading of between 12.6 and 12.8 volts. This voltage range indicates that the battery is fully charged and can provide the required power output. However, if the battery voltage reading is below this range, it means that the battery is not fully charged or has a fault.
There are several reasons why a solar generator battery may have a low voltage reading. One common cause is over-discharging, which occurs when the battery is drained below its recommended discharge level.
Over-discharging can damage the battery cells and reduce their voltage capacity. Another possible cause is a faulty charger or charge controller, which can fail to fully charge the battery or cause it to overcharge, leading to voltage fluctuations.
To check the voltage of a solar generator battery, you will need a multimeter or voltmeter. Connect the meter’s positive lead to the battery’s positive terminal and the negative lead to the negative terminal. The meter should read the voltage level of the battery. If the reading is below the recommended range, you can recharge the battery using a solar charger or replace it with a new one.
Check the Solar Panel Connection:
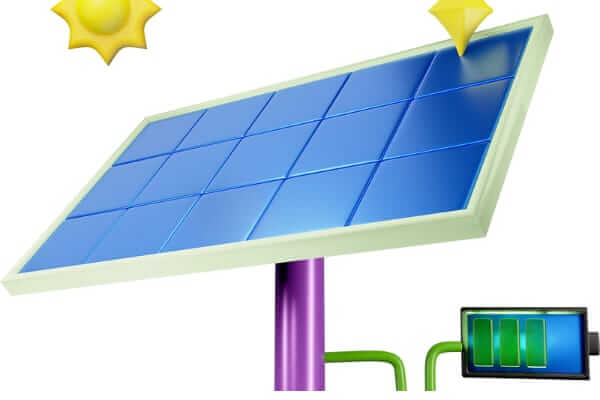
Solar panels are an essential component of a solar generator, as they convert sunlight into electricity that charges the battery. However, solar panels may develop faults or malfunctions, which can affect their performance and charging capacity. One common issue with solar panels is poor or faulty connections, which can prevent them from delivering optimal power output or charging the battery efficiently.
To troubleshoot solar generator issues related to solar panel connections, you should first inspect the wiring and connections between the solar panel and the battery. Make sure that the wiring is secure, and there are no loose or damaged connections. If the wiring is damaged or corroded, you should replace it with new wiring to ensure proper conductivity and reduce the risk of short circuits or electrical fires.
Next, check the solar panel for any damage or malfunction. Inspect the panel for cracks, scratches, or other signs of physical damage. These damages can affect the panel’s ability to convert sunlight into electricity and may require repairs or replacement.
Also, make sure that the solar panel is facing the sun directly and is not obstructed by trees, buildings, or other objects that may block the sunlight.
Another common issue with solar panels is the accumulation of dirt, dust, or debris, which can reduce their efficiency and charging capacity. Therefore, it’s essential to clean the solar panel regularly with a soft brush or cloth and water to remove any dirt or debris that may be obstructing the sunlight
Check the Charge Controller:
A charge controller is a vital component of a solar generator system as it ensures that the battery is charged safely and efficiently. The primary function of a charge controller is to regulate the voltage and current coming from the solar panels to the battery, preventing overcharging or undercharging. Overcharging can damage the battery, while undercharging can lead to a shortened battery life and reduced performance.
Charge controllers are available in different types, including PWM (Pulse Width Modulation) and MPPT (Maximum Power Point Tracking) controllers. PWM controllers are the most common type and are suitable for small solar systems with low to medium power requirements. MPPT controllers, on the other hand, are more efficient and suitable for larger solar systems with high power requirements.
When checking the charge controller, the first thing to do is to inspect it visually for any signs of damage or wear and tear. You must check wiring connection so ensure that it is connected and doesn’t damage. You can also use a multimeter to test the voltage and current output of the charge controller to ensure that it is within the recommended range.
It is also essential to ensure that the charge controller is compatible with the solar panels and battery used in the solar generator system. Incompatibility can lead to inefficient charging or even damage to the battery or solar panels.
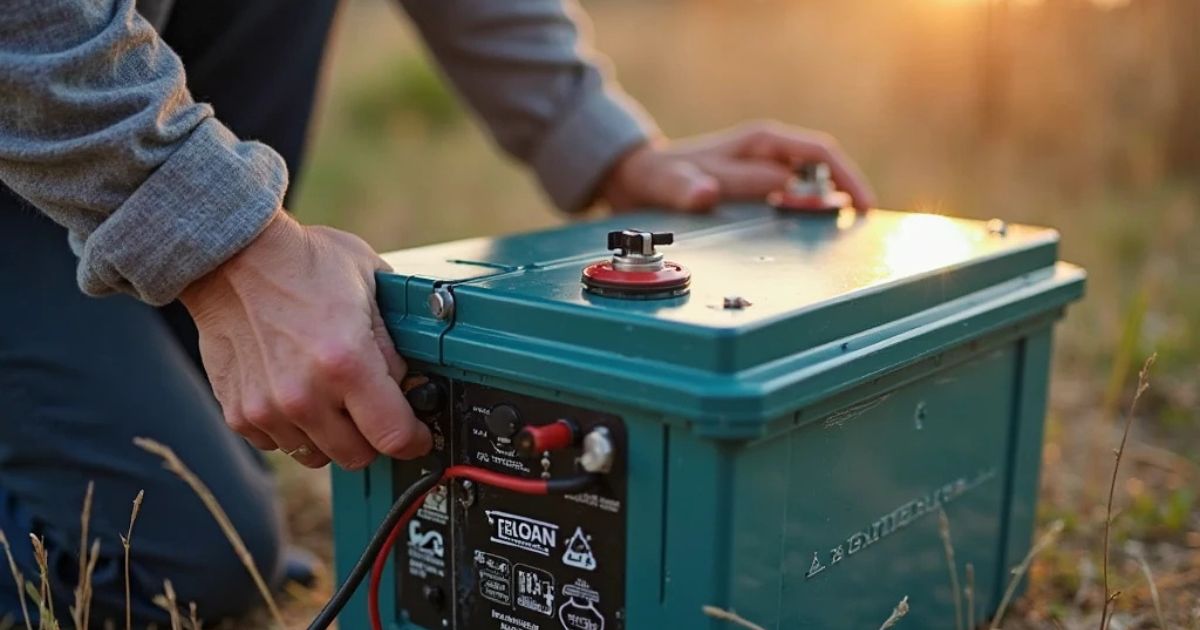
Check the Battery Terminals:
One important aspect of solar generator maintenance is checking the battery terminals.
Battery terminals are the connection points between the battery and the other components of the solar generator. They are responsible for conducting electrical current from the battery to other components like the inverter, charge controller, and solar panels. If the battery terminals are corroded or loose, they can negatively impact the efficiency of the battery and the entire solar generator.
Corrosion occurs when metal comes in contact with moisture or other chemicals, leading to a build-up of rust and debris on the surface. Corrosion on the battery terminals can impede the flow of electrical current, leading to reduced battery performance and, ultimately, system failure. Loose battery terminals can also cause similar problems by interrupting the electrical connection between the battery and other components.
To prevent these problems, it is essential to regularly check the battery terminals and ensure that they are clean and tightly connected. You can use a wire brush or sandpaper to remove any corrosion or rust on the battery terminals. Once cleaned, it’s important to apply a protective coating, such as petroleum jelly or battery terminal protectant, to prevent future corrosion.
Additionally, you should check the tightness of the battery terminal connections. If they are loose, tighten them using a wrench or pliers, taking care not to overtighten, which can damage the battery terminals or strip the threads.
Check the Battery Age:
Solar generator batteries are an essential component of any solar power system. They store the energy produced by the solar panels and make it available for use during periods of low sunlight or at night. However, batteries have a limited lifespan, and over time, they can lose their capacity to hold a charge. Therefore, it is crucial to check the battery age regularly to ensure that it is still functioning correctly.
The lifespan of a solar generator battery depends on several factors, including usage, maintenance, and storage conditions. Generally, most solar generator batteries last between 3-5 years, although some may last longer or shorter depending on usage. If you use your solar generator regularly, you may need to replace the battery every three years or so. If you use it less frequently, you may be able to extend the battery life up to five years or more.
There are several ways to check the battery age of a solar generator. One way is to check the manufacturer’s warranty, which often provides information on the expected lifespan of the battery. Another way is to check the date code on the battery itself. Most batteries have a date code stamped on them, which indicates the date of manufacture. If the battery is more than three years old, it may be time to consider replacing it.
In addition to age, there are other signs that your solar generator battery may need replacing. For example, if the battery takes longer to charge or discharges more quickly than usual, it may be a sign that the battery is nearing the end of its lifespan. Similarly, if the battery appears swollen or leaks fluid, it is time to replace it immediately.
Conclusion
In summary, a faulty solar generator battery can significantly reduce the efficiency and effectiveness of your solar generator. By following the steps outlined in this guide, you can troubleshoot and fix any issues with your solar generator battery.
Always remember to wear protective gear, follow the manufacturer’s instructions, and seek professional help if you are unsure of what to do. With proper care and maintenance, your solar generator can provide you with clean and reliable energy for years to come. We hope this blog will must hepl you so if you like this then please share it as much as possible!
Read our more blogs: